


Flower Power: DIY Crepe Paper Flowers
Summer has arrived which means there’s plenty of time for fun activities. Newfields has plenty to do and see at the Indianapolis Museum of Art, The Gardens, and The Virginia B. Fairbanks Art & Nature Park. Keep the fun going and continue to engage your artful imaginations at home.
For Mother’s Day, our Director of Public Programs Lindsay Hamman made a beautiful crepe paper flower backdrop and many of you asked how you could recreate it. It took us about 45-minutes to make the first flower, then we got faster with each additional one. Make them just for fun or to decorate your summer soirée, it’s the perfect summer activity for all ages!
Follow along with Lindsay as she gives you step-by-step instructions on how to make a beautiful flower all your own.
Supplies:
-
One paper plate per flower
-
You can use dinner-plate sized or dessert sized plates.
-
Zip tie (optional)
-
Crepe paper (two or more colors)
-
Crepe paper looks a lot like gift wrap tissue paper, but you want crepe paper specifically because it stretches. You can find what we used on Amazon.
-
Scissors
-
Hot glue (or glue sticks for little ones)
|
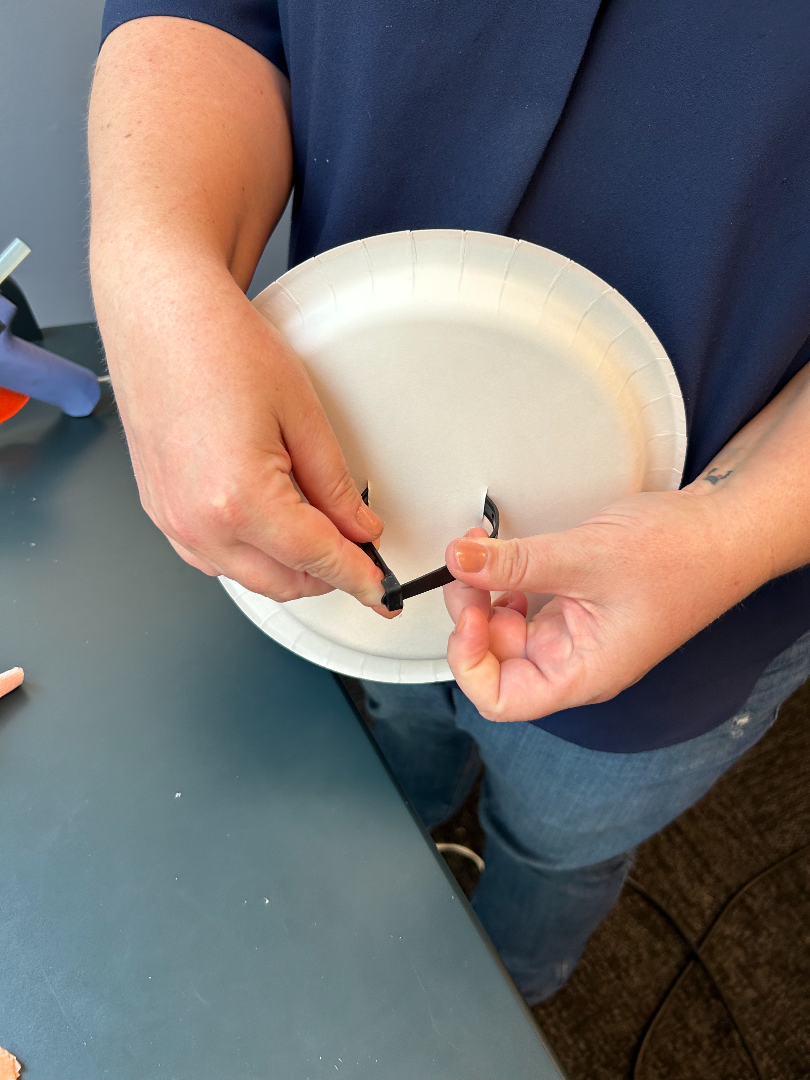
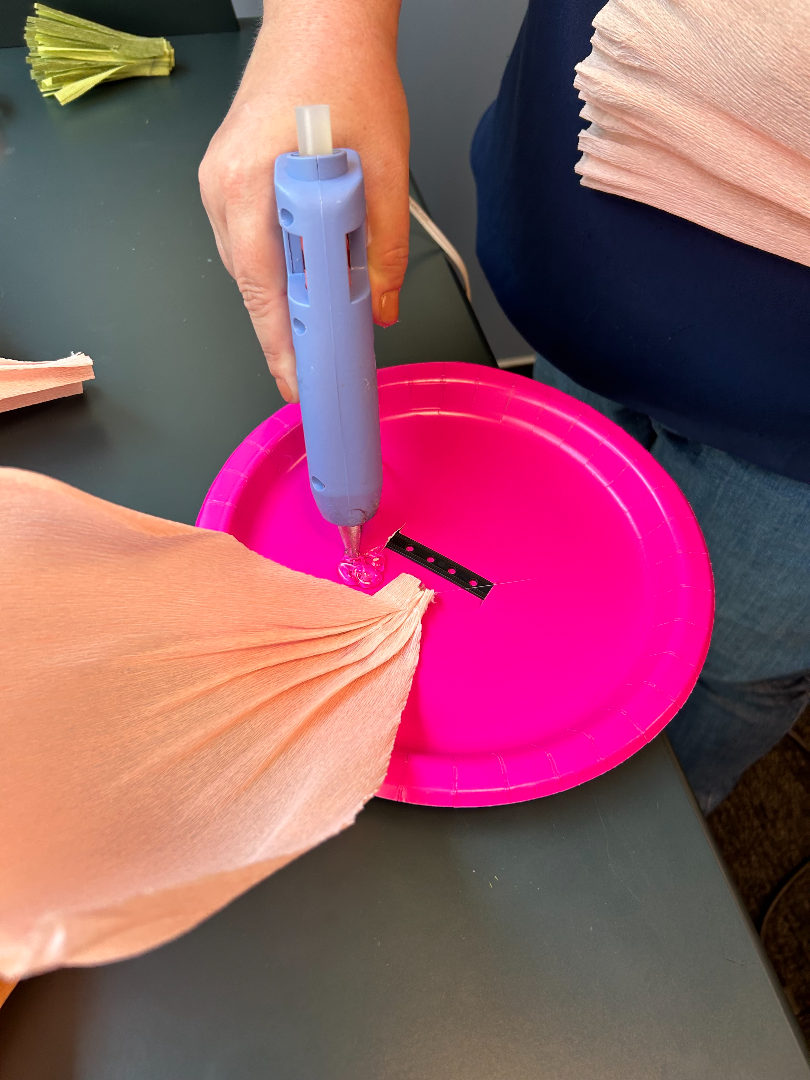
Prep your plate: Before you get started, you’ll also want to know how you are going to use your flower(s). Will you be attaching them to a railing with string? Will you be wearing it as a fascinator on a headband? Lindsay recommends slipping a zip tie or a string through the center of the plate. |
|
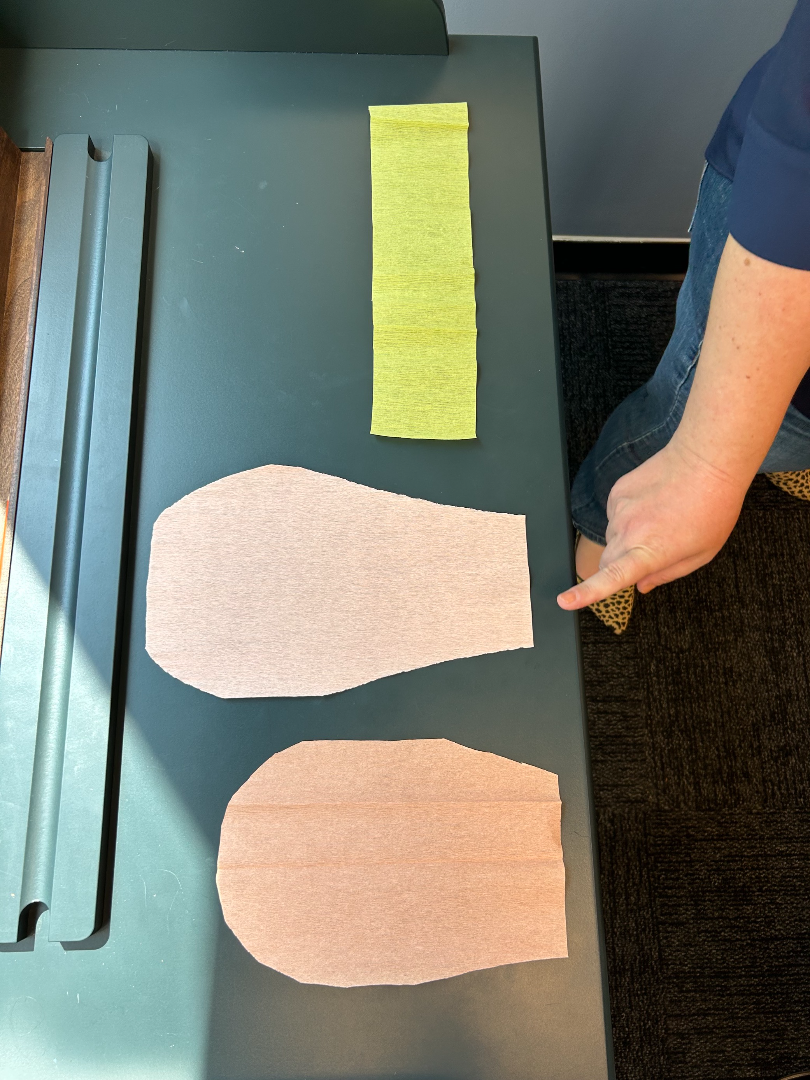
| Make the petals: | |
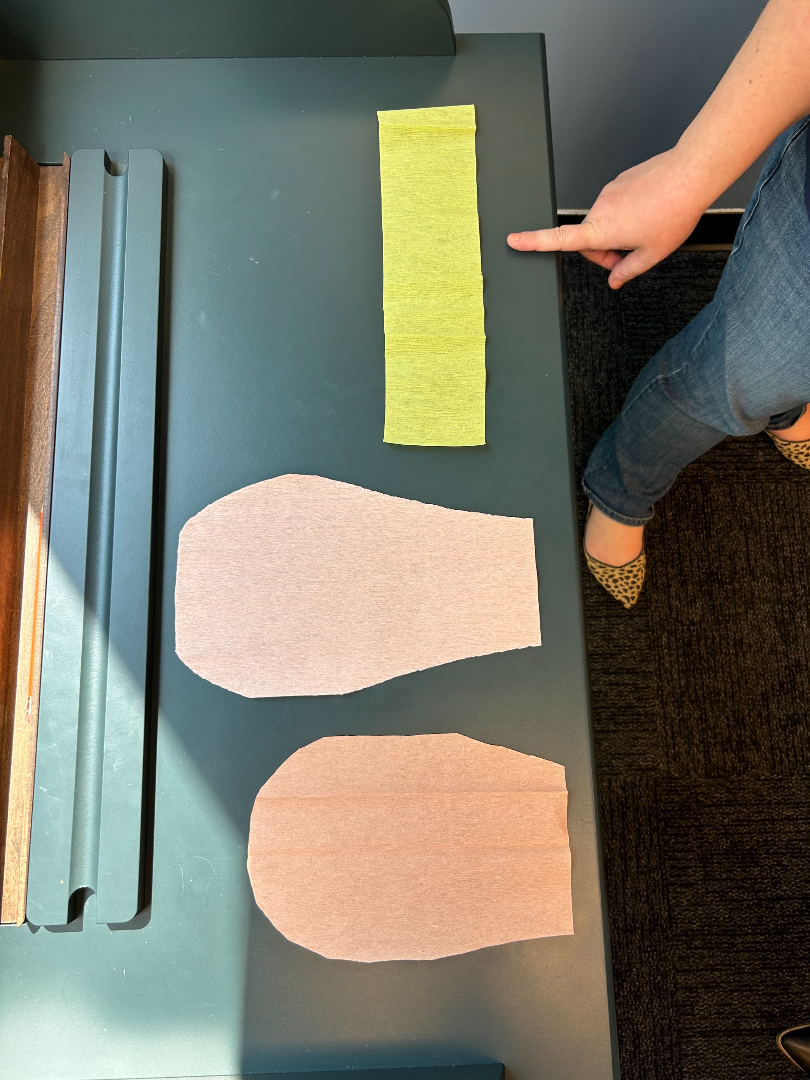
| 1. Cut out your petals into the shape pictured. Start with at least 6 small and 6 large petals. The size of your petals will depend on the size plate you choose, consider 8-inch-long petals for a dessert plate and 14-inch-long petals for a dinner plate. You can use more than one color if you’d like. |
|
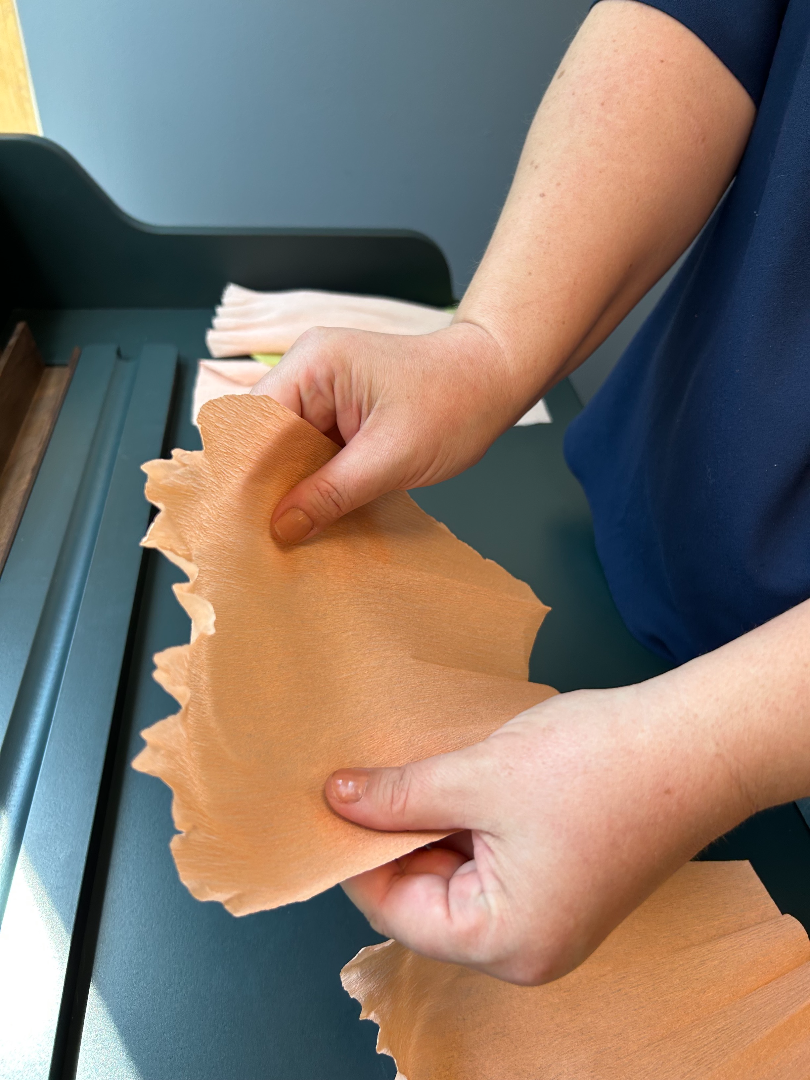
| 2. Gently stretch the paper on the rounded edge of each flower. Then stretch the middle to create a dome effect. |
|
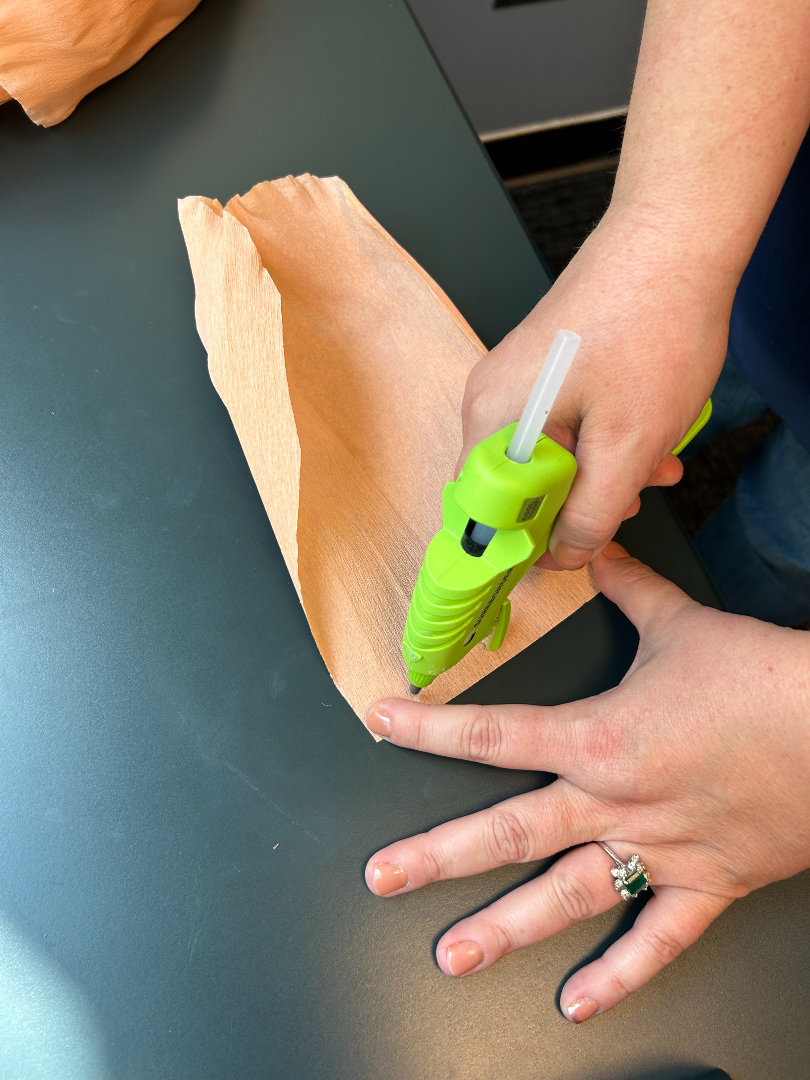
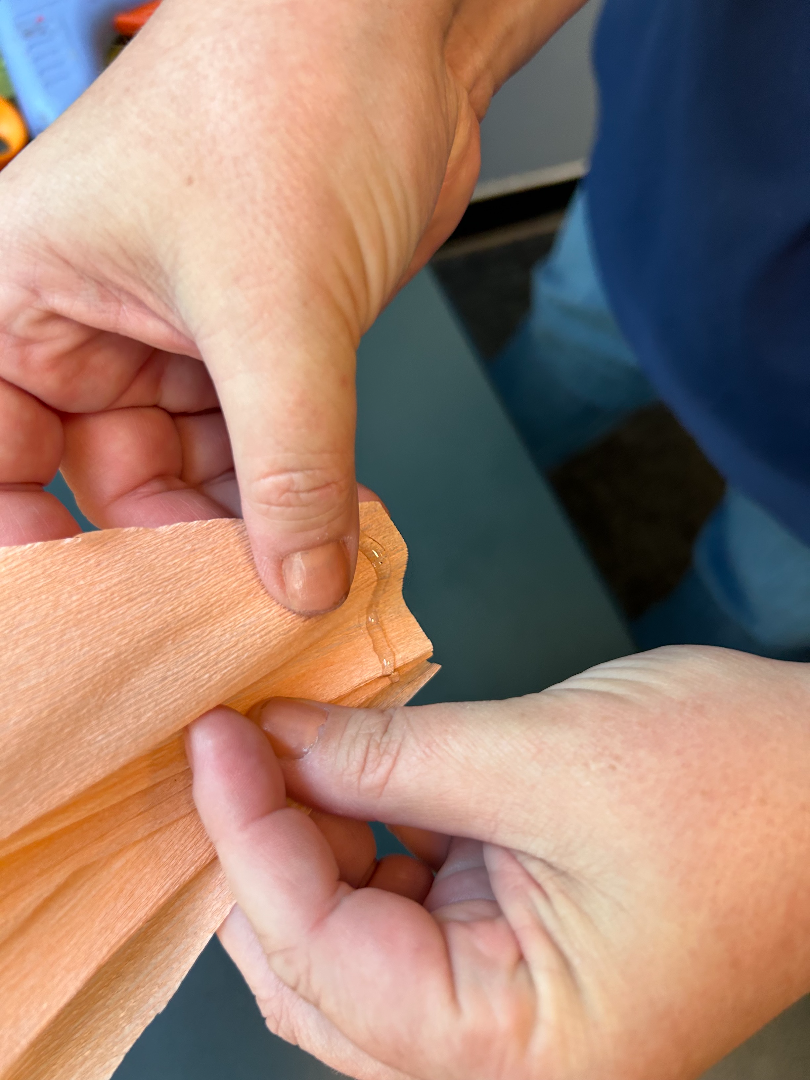
| 3. Now, add a line of glue along the straight edge of one petal. |
|
| 4. Accordion fold the edge (vertically) with the glue and hold until the glue dries. Repeat this for each petal. |
|
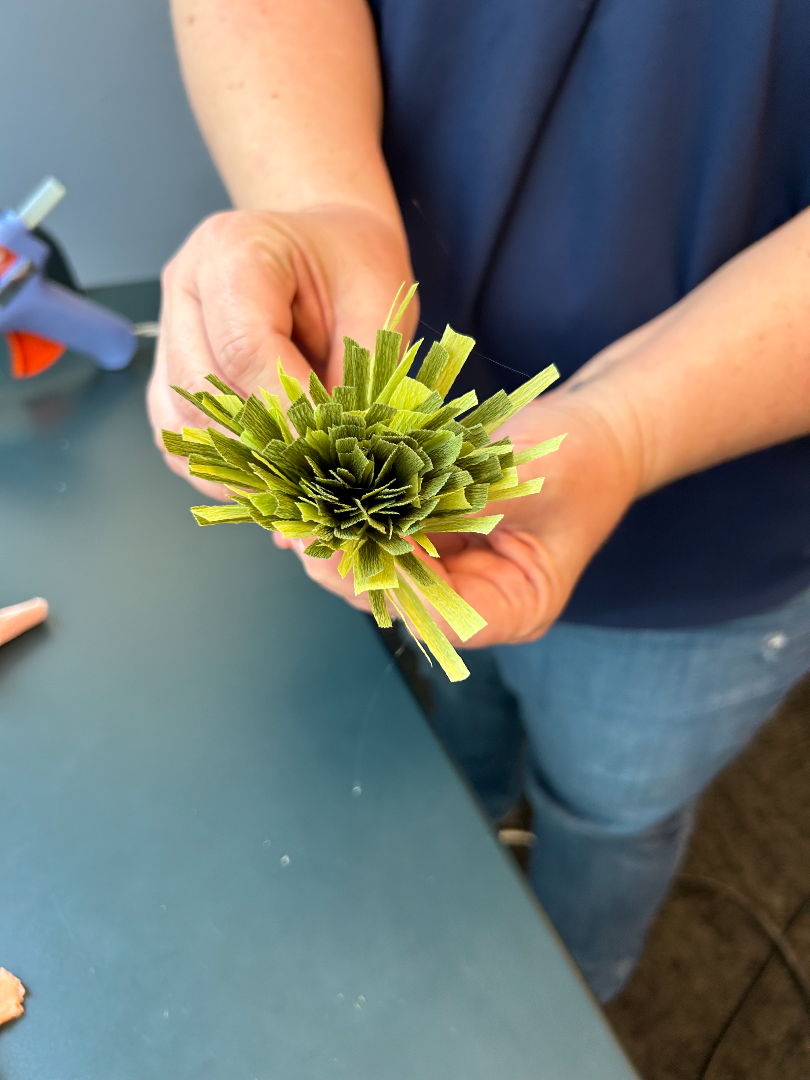
| Make the pistil, or the center, of the flower: | |
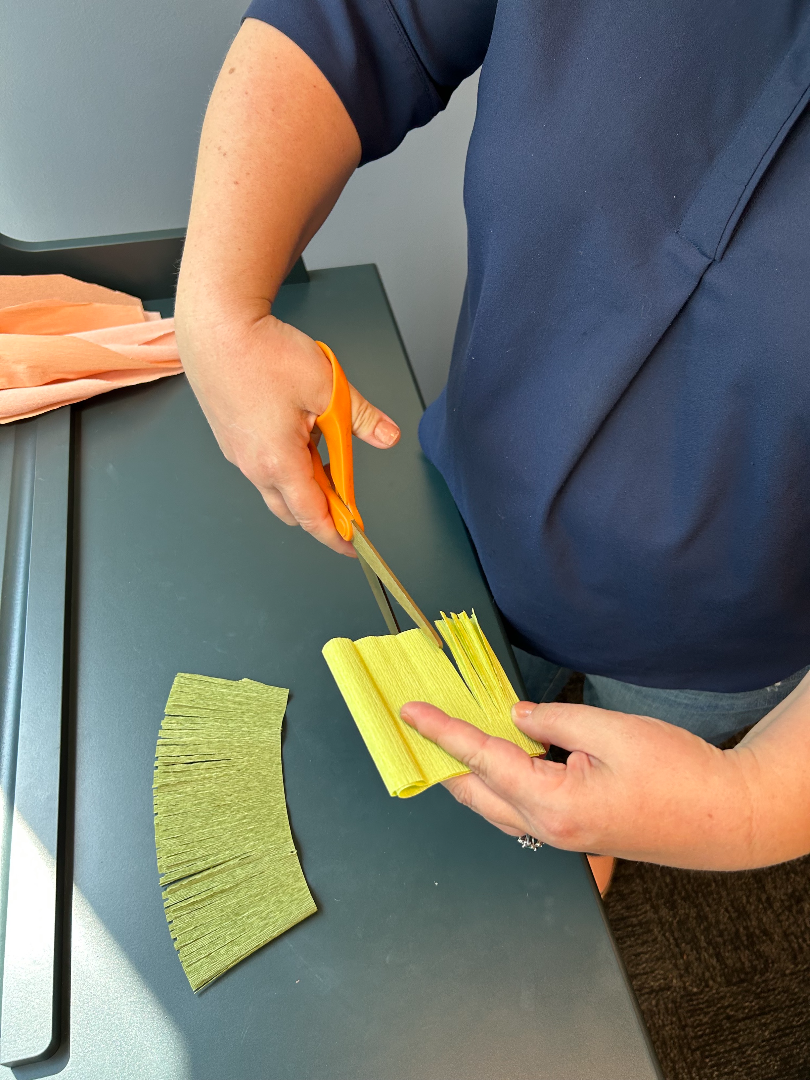
| 5. Cut two 3x10 inch strips of crepe paper. These will become the center of your flower. We used two shades of green, but you can use any color you’d like. |
|
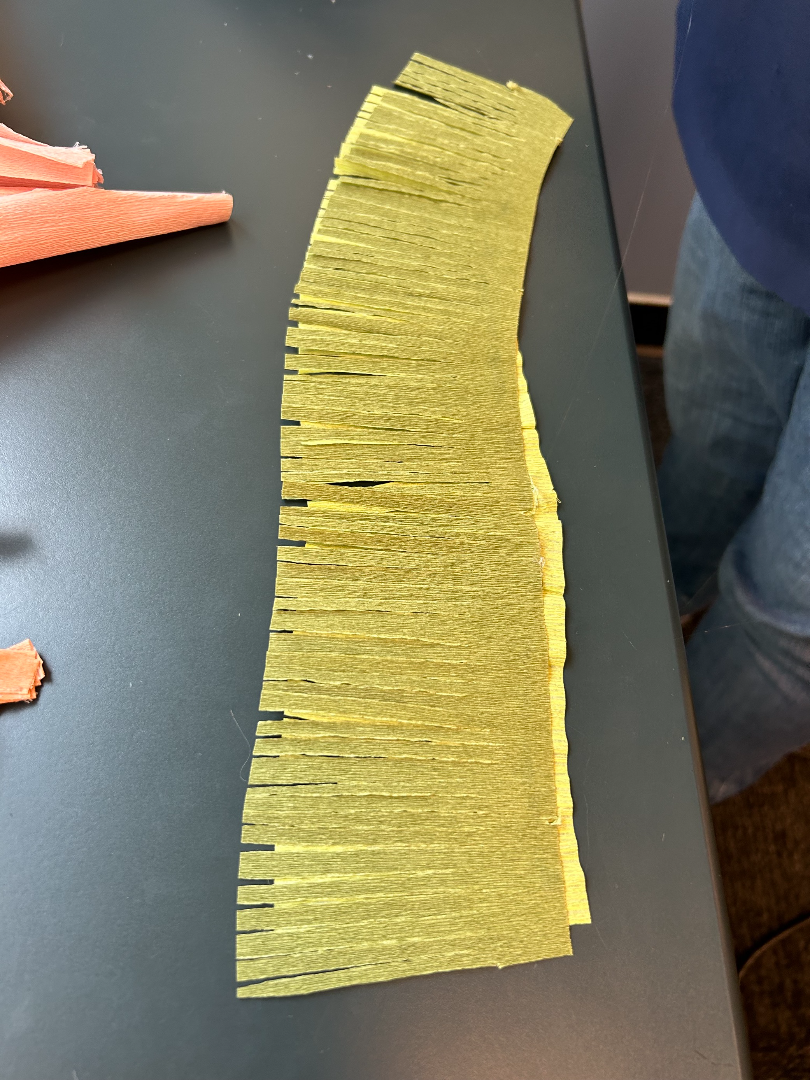
| 6. Next, fold the strips horizontally (hamburger style) twice. Then snip about 2.5-inch fringe along the long edge. It’ll look a bit like grass. Repeat with both strips. |
|
| 7. Gently unfold them and glue them together, one on top of the other. This will create fullness later. |
|
| 8. Now, add glue along the straight edge then roll the pistil together, like you’re rolling up a rug. |
|
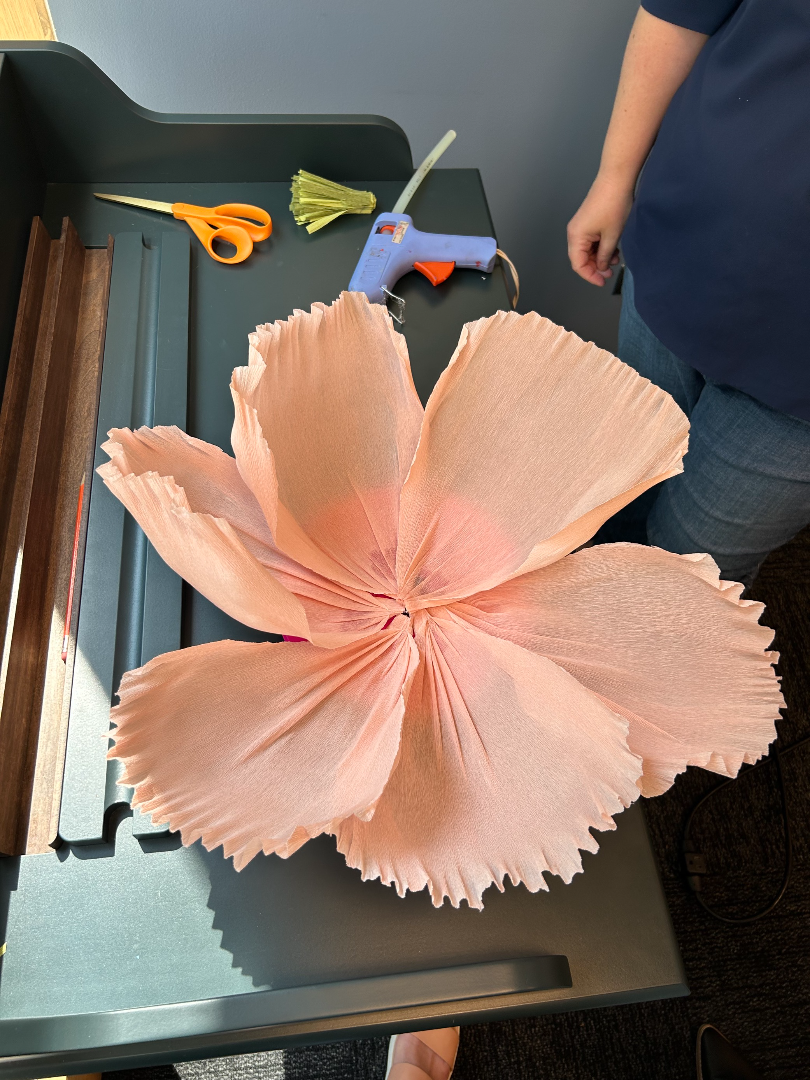
| Time for the fun part, assembly! | |
| 9. Glue the largest petals around the perimeter of the plate. Stretch and pull to your liking. |
|
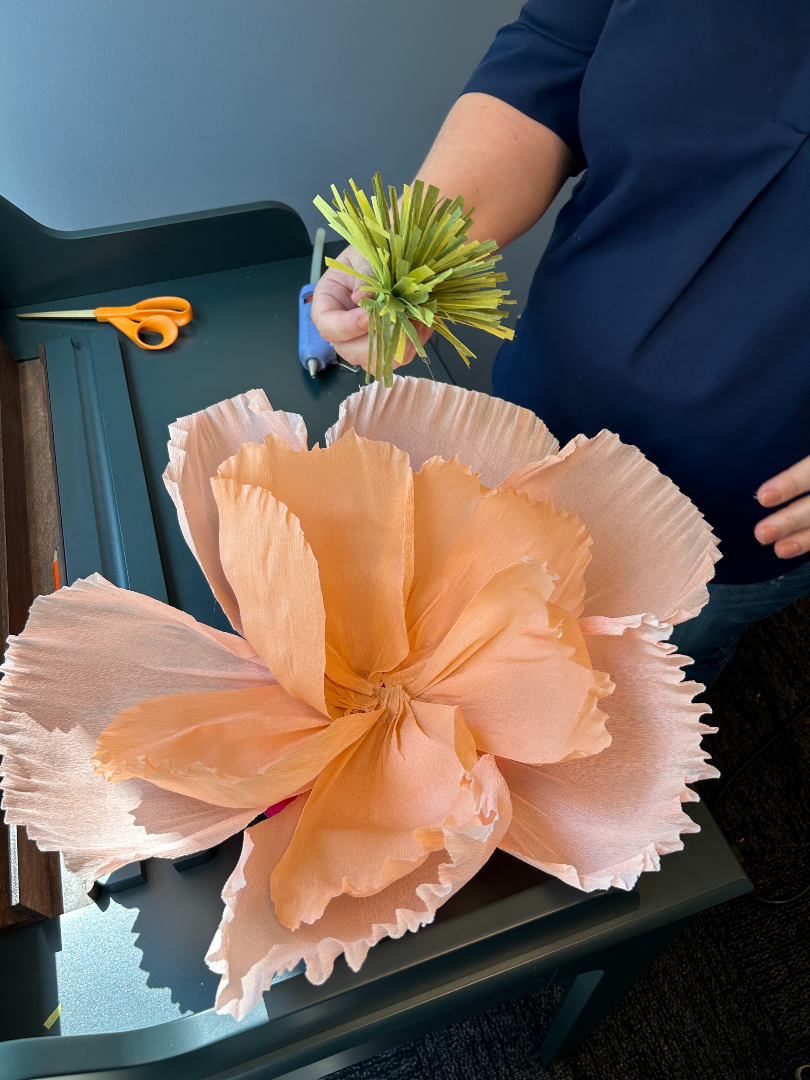
| 10. Continue with the smaller petals and repeat until you are out of petals. |
|
| 11. Now, attach the pistil (the center of the flower). |
|
You can even get fancy by adding a headband to make a makeshift fascinator, a corsage, home décor, whatever your heart desires. No matter what you decide to create, be sure to have fun! And when you’re finished, tag @NewfieldsToday on social media to show us your completed masterpieces.